First let me stress this guide is my methodology for Adler Napoleonic miniatures and my personal preferences. There are many other ways to paint 6mm figures and it may take time to establish 'your' own style, so stick with it, it's extremely rewarding.
The process laid out below is generic only, covering research, tools, paint and other accessories needed to complete a project.
Research
Once you have decided which unit is to be painted, start your research, be it via books, refence cards, internet or photographs, this will dictate the colour paint you need to have in your collection. Good, clear colour plates are worth their weight in gold for this task, and there are many great refence and painting guides out there to help. One example of an excellent reference book is the The 1814 Campaign for France by Histoire & Collections, Author, Hourtoulle.


Brushes
The brushes I use are mostly Windsor and Newton series III, but have recently discovered Artmaster brushes to be a good workhorse. The sizes range from 1 for larger areas such as horses and dry brushing, to 0 for general use of fine detail and 00 when ultrafine detail needs to be painted. It goes without saying that when a brush is not in use it should have its plastic sleeve put back on to protect the hair. In addition, make sure the last wash before storage is done in clean water to prevent paint build up, and never - never let paint get into the ferrule of the brush as this will cause a splaying of the bristles over time.
Also I use any old and well used, or cheap brushes from size 2 to 4 to undercoat the figures.
Paint
Here I almost exclusively use Vallejo Model colour for the main body of work, but sometimes Vallejo Game colour. Undercoating is always black, and the best paint I have found for this is Revell Aqua colour matt Black 361, 08, which dries quickly and leaves a nice thin layer.
Furthermore, I often use Vallejo airbrush flow improver for some 'thicker' colours such as black. Paint tends to thicken slightly with age so this is worth keeping an eye on.

Always give the bottles a really good shake before use to homogenise the paint, since some colours can be thinner than others due to the pigment used.
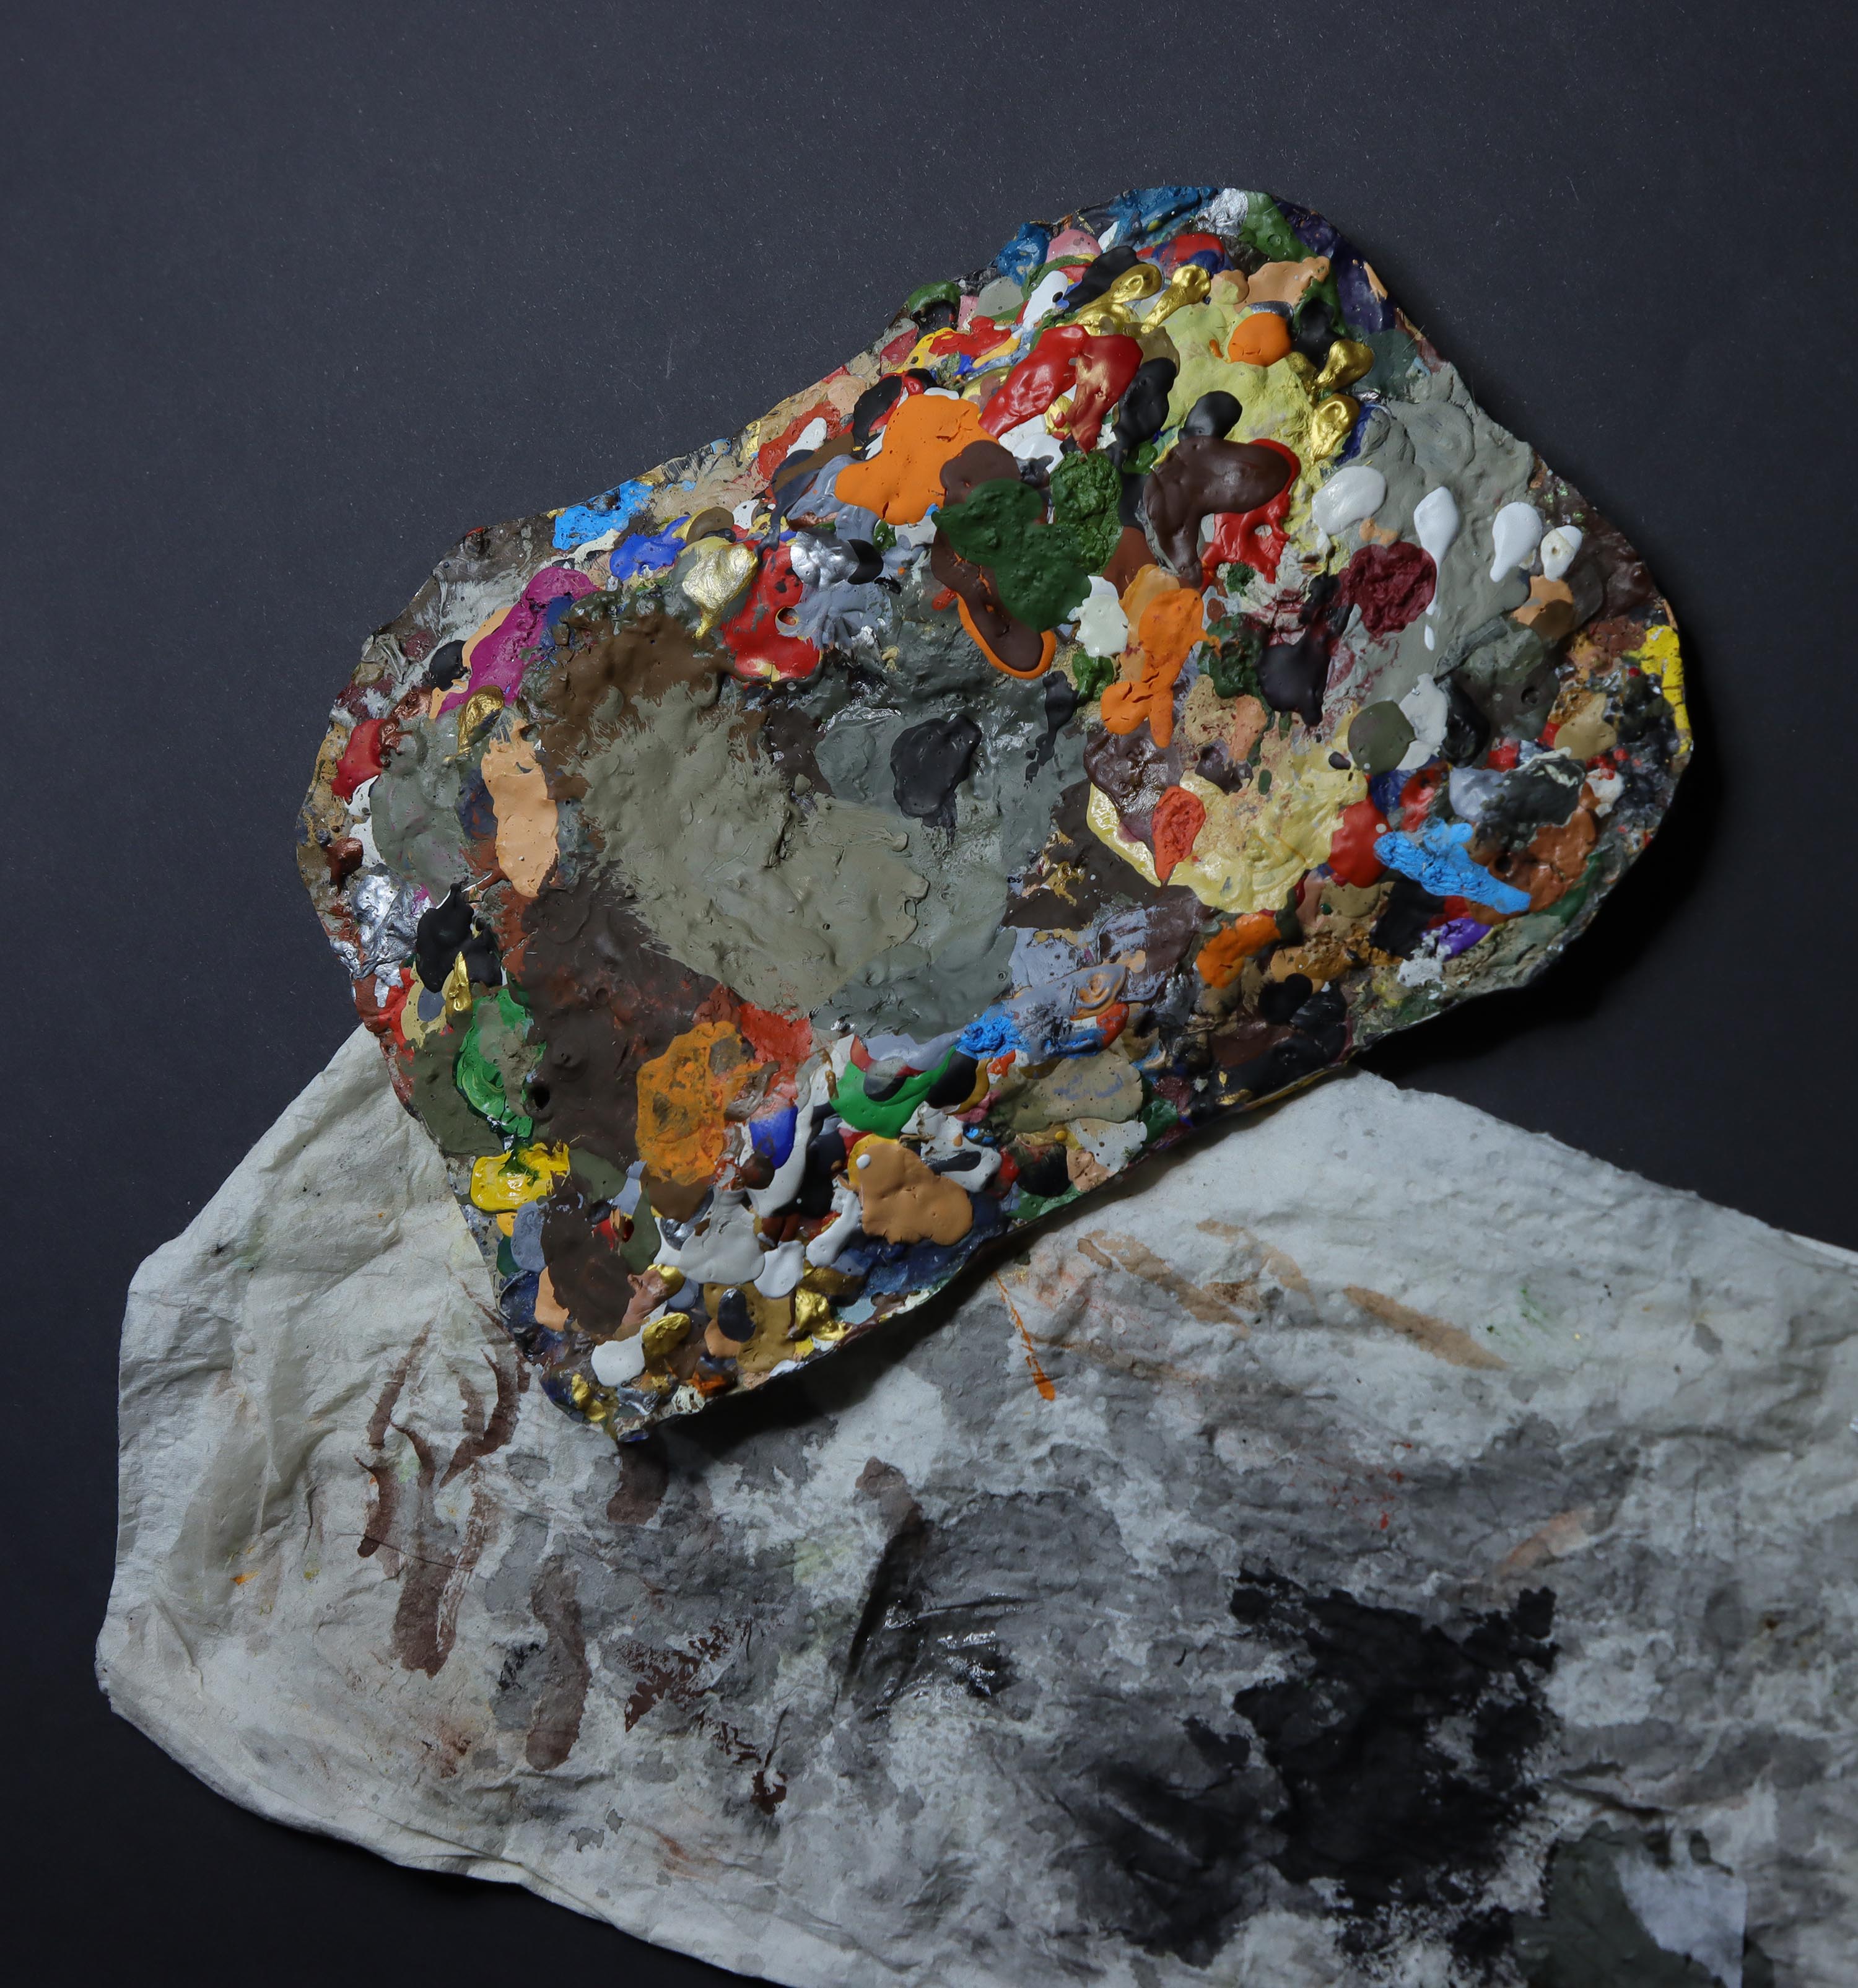
When the paint is ready to be used I use a simple palette to place a few drops of paint onto it then re-seal the pot. I only use small drops of paint at a time, since depending on air temperature, the paint may 'skin' over or dry out and much wastage can be avoided this way. Actually my palette is an old envelope which came to hand at the time and is now several years old! Also use a soft tissue to dry the brushes, don't twist or pull, just gently squeeze them into the tissue.
Finally, for this section, have two jars of water to hand, one for immediate paint removal from the brush and the second a jar of clean water to eliminate any strong colour carryover.
Figures
First all flash and burrs are removed with a scalpel and hobby file and the base sprue checked to see if it sits evenly. Next the strip or individual figures are mounted on some waste card which allows me to handle them without ruining the paint job.

Usually, a battalion is placed on two strips and a cavalry regiment on three strips. This way the continuity of colour and method of painting can be maintained, painting one colour, say coats, then the next, maybe faces etc.
Generally I find it's best to paint the figure from the inside out, by this I mean those things which are hard to reach or in a recess, (for example chest straps on cavalry), and may spoil the rest if a mistake is made. This way if an error occurs it's a simple matter of retouching with black before continuing.
Typically, I work to a two tone colour scheme, one darker than the other to create an element of shade and highlight, (and this again is where the record keeping saves time by noting the colour pairs). My technique could be described as "block and spot", where a block of the base colour is laid on, allowed to dry and then the highlight colour is lightly dabbed or brushed onto it.
One thing to remember when painting is the pressure applied with the brush - this is important since too much can leave overly thick lines and too little leaves gaps in the stroke. It's something that requires practice in order to get consistent results - this is where the flow improver comes into its own.
Finally, as of late I have taken to paint the figure base sprue in a medium green colour so that when the figures are actually based I don't have to risk 'squeezing' in with a brush to do this which may then ruin a nicely painted figure.
Lighting
At last lighting - always paint with good light and for this I use a magnifier-lamp which greatly allows a constant light to work with since daylight can vary quite frequently here in the UK. The model of light I use is LightCraft model 8095LED, and available direct from the manufacturer in the UK.
Colour Refence Cards
Another recent thing I have started to do is to make squares of card on which I then paint a small rectangle and mark it with the colour code. This allows me to see the various shades when dry in order to decide which ones I can use for colour selection and pairing.

Finishing
Finally, varnishing and for this I have found the best solution is Revell #2 Matt varnish, which does not seem to tarnish over time - I wish I had discovered this one earlier since a few of my earlier figures are staring to 'yellow' and may need a touch up eventually.
Comments